Walkthrough Video #

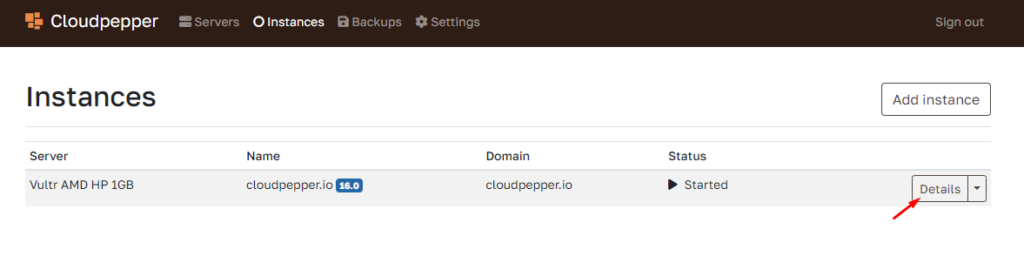
1. Open your instance details #
Click on Details of the Odoo instance for which you want to add a repo. This can be a production instance or a staging instance.
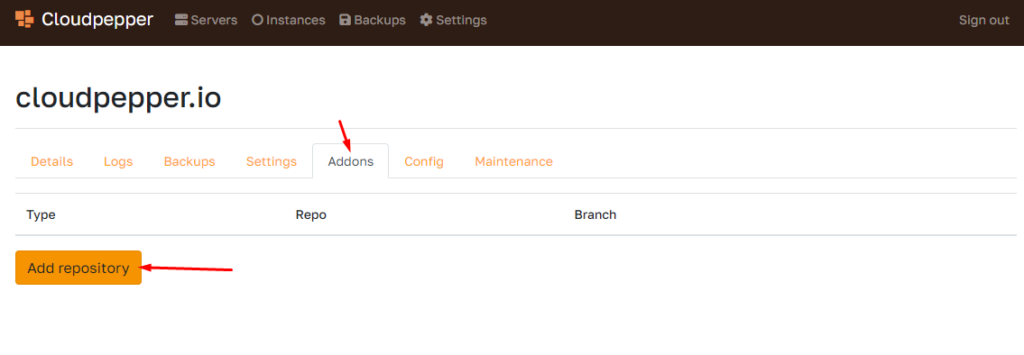
2. Open Addons #
Under the details of your instance, you can go to Addons, where you can add a git repo, whether it’s private or public.
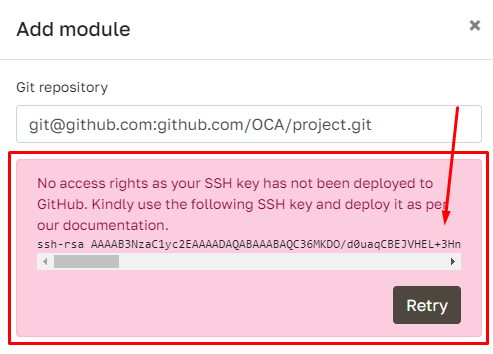
What if my Repository is private? #
Use the SSH Git link. Once you put in the link when adding a repository in Cloudpepper, you will receive a unique SSH Key. Add this SSH Key as a Deploy Key in Github and you’ll be able to import the modules of your repository.
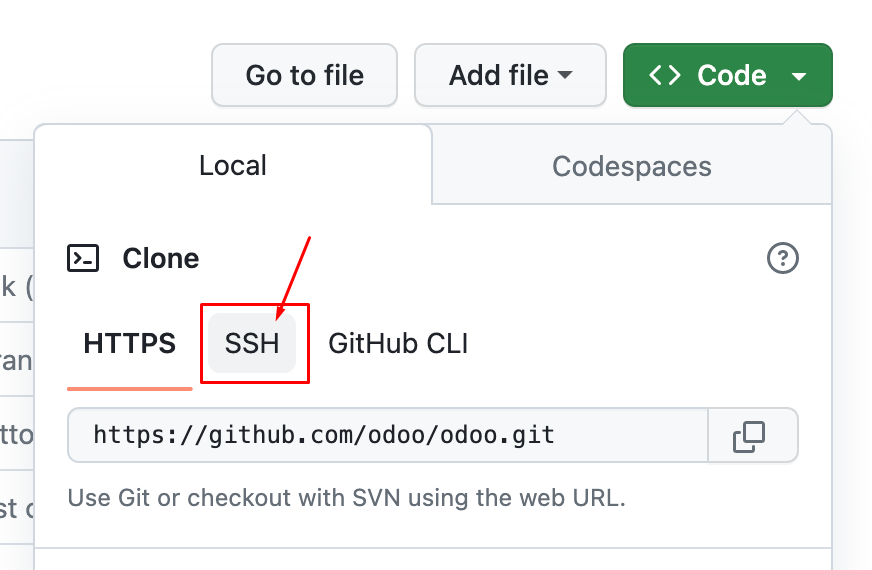
Ensure to use the SSH link on Github.
3. Select all modules or specific modules #
Cloudpepper allows you to select which modules you want to install to your instance.
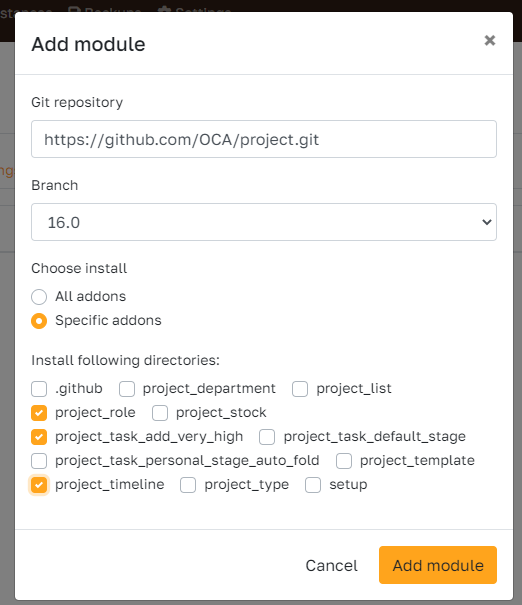
4. Click Add module #
The modules will be installed and can be activated on the App dashboard in your Odoo instance.
How to commit changes? #
When new changes have been committed, click the “Update”-button next to your repo.