Self Host Odoo on VPS or Dedicated Servers
Run Odoo entirely on your own infrastructure with the same managed experience as Odoo.sh — full control, full flexibility, lower cost.
Introduction
Section titled “Introduction”Want to run Odoo entirely on your own infrastructure? This guide walks through deploying a self-hosted Odoo instance on on-premises hardware, bare metal, or any cloud VM. With Cloudpepper’s Odoo hosting, you get the simplicity of a managed platform — provisioning, deployment, monitoring, backups, support — without giving up control of where the workload runs.
Why self-host Odoo?
Section titled “Why self-host Odoo?”- Full control over data, configuration and upgrades.
- Compliance for strict data-residency or privacy requirements.
- Performance tuning freedom — Postgres, caching, workers, kernel tuning.
- Cost efficiency, especially at scale or on long-running workloads.
Requirements
Section titled “Requirements”- A Base, Pro, or Agency plan with Cloudpepper.
- Any cloud provider you choose, or a dedicated / on-premises server you control.
- Root access to that server — password or SSH key.
- A clean Ubuntu or Debian Linux install (see OS notes below).
Step 1 — Prepare or choose your server
Section titled “Step 1 — Prepare or choose your server”Before deploying Odoo, make sure you have a server ready. Cloudpepper works with any cloud provider worldwide as well as a local or on-prem server. The same approach powers our managed Odoo VPS hosting, so a low-cost cloud VPS works just as well as your own hardware. You only need root access (password or SSH key) and a supported Linux distribution.
Server specifications
Section titled “Server specifications”Use the Server Sizing Guide to pick the right specs for your expected number of users and modules. As a rule of thumb, plan for at least 1 vCPU and 2 GB RAM per few concurrent active Odoo users, plus headroom for Postgres and your filestore.
OS requirement
Section titled “OS requirement”Your operating system must be a clean install of Ubuntu or Debian with nothing else running on it. Cloudpepper provisions and hardens the box; pre-existing web servers, mail servers, custom Postgres builds, or competing service managers will conflict with the standard configuration.
Step 2 — Connect your server to Cloudpepper
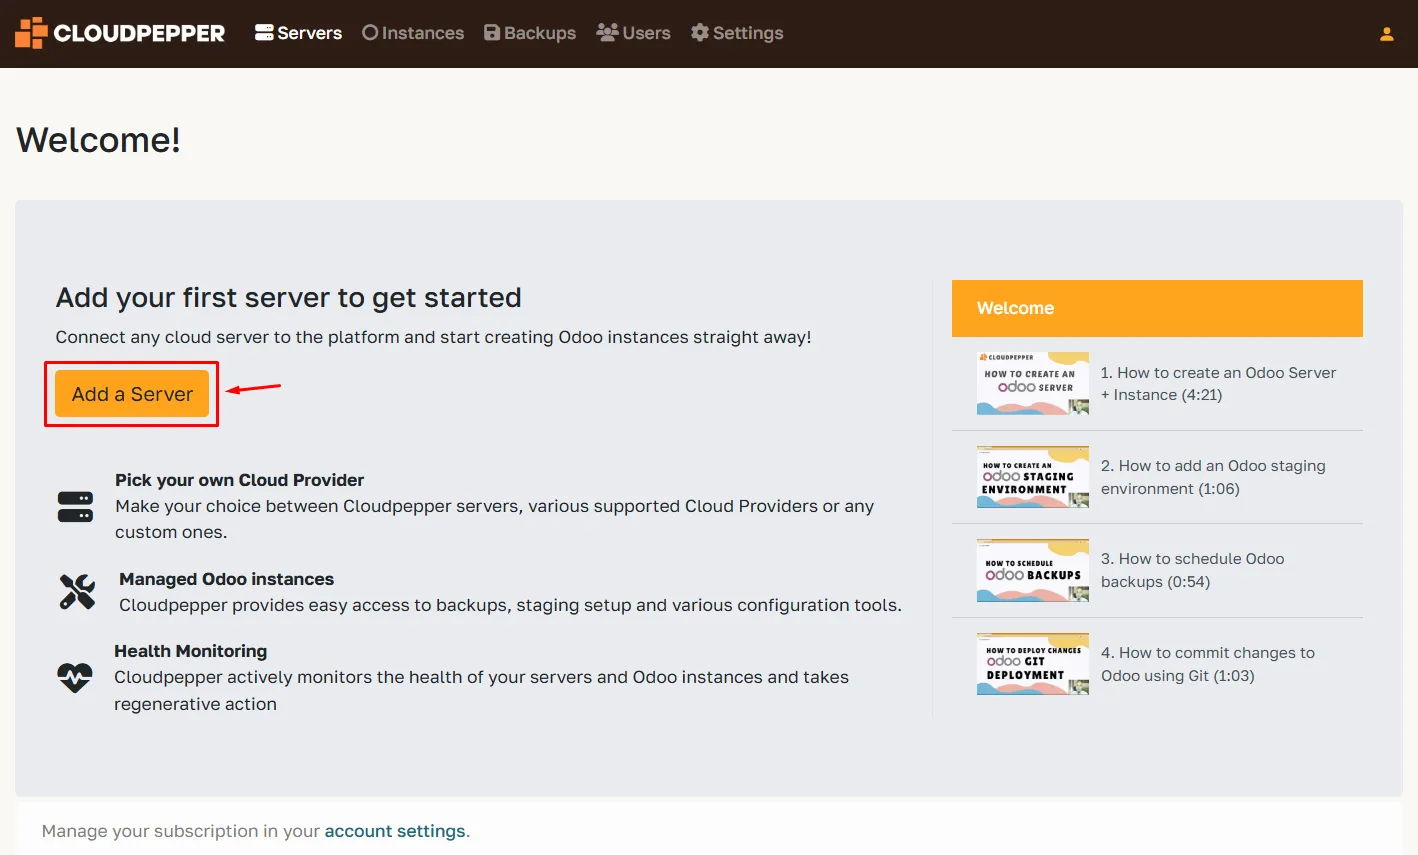
Section titled “Step 2 — Connect your server to Cloudpepper”In your Cloudpepper dashboard, click Add a Server.
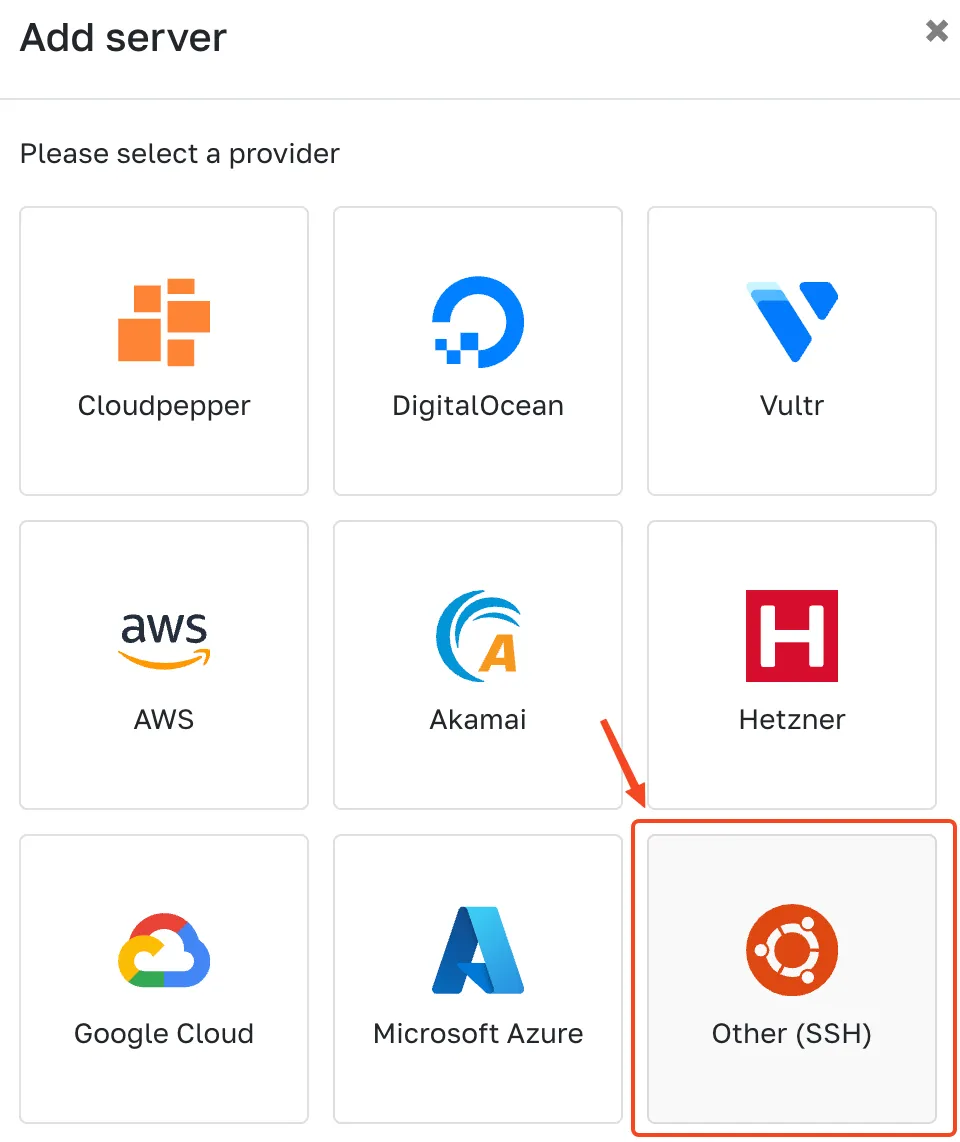
Select the option Other (SSH) to enter the details of your server.
Then enter the details:
- Odoo version — the base Odoo version for this server.
- Hostname — the public IPv4 address of your server.
- Port — the SSH port (usually
22). - Username — a user with sudo rights (typically
root, or a sudo user without a password prompt). - Password — the user’s password.
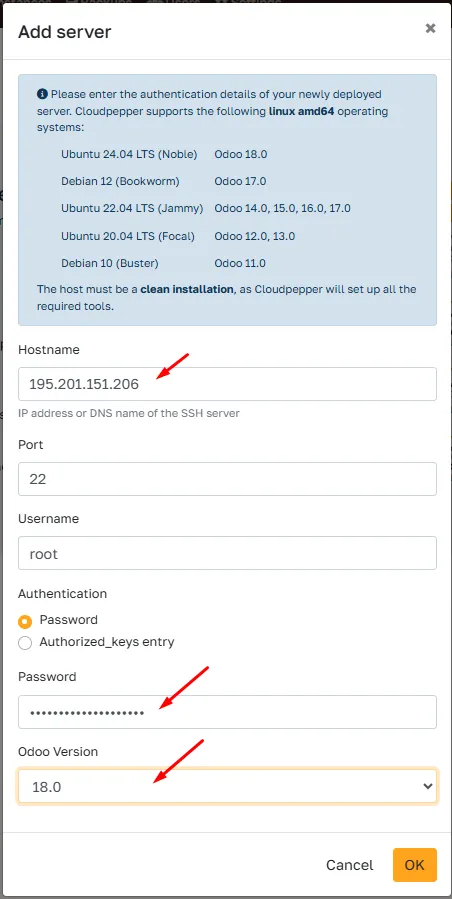
Click OK to start provisioning.
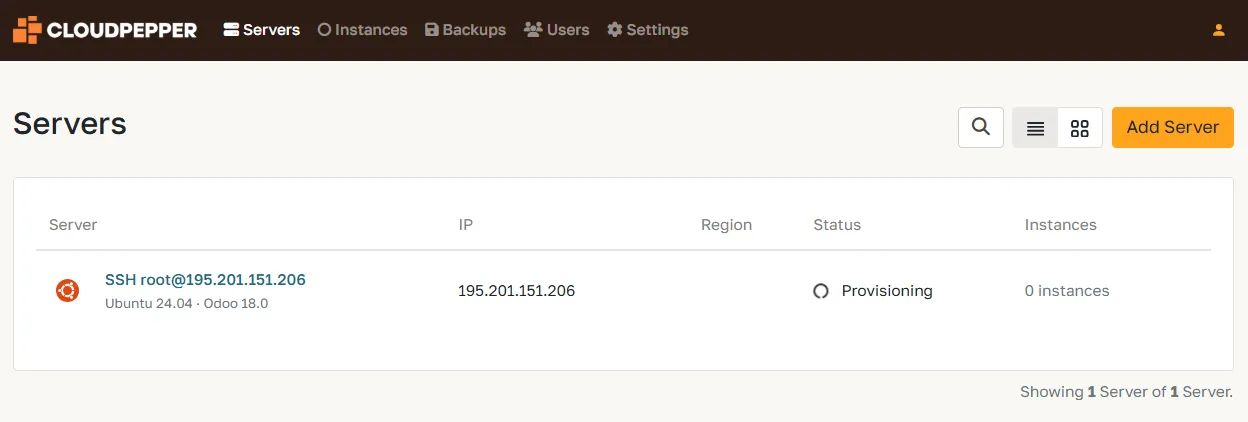
Cloudpepper now sets up your server: applying updates, installing the required packages, hardening the system, and installing its own SSH key for ongoing secure management. The whole thing usually takes 10–20 minutes depending on your server’s performance — grab a coffee.
Step 3 — Add your first Odoo instance
Section titled “Step 3 — Add your first Odoo instance”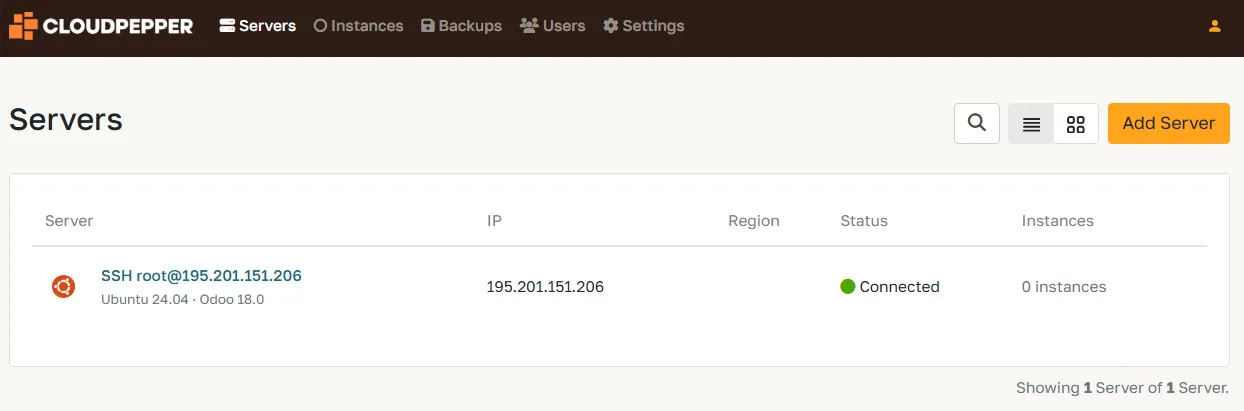
Your server is now connected and ready. Go to the Instances page in your dashboard and click Add Instance to create your first Odoo deployment.
Troubleshooting
Section titled “Troubleshooting”Error: sudo: a terminal is required …
Section titled “Error: sudo: a terminal is required …”While provisioning, you may see this error:
sudo: a terminal is required to read the password; either use the -S option to read from standard input or configure an askpass helper. sudo: a password is required.
This happens when you connect as a non-root user whose sudo still asks for a password. Cloudpepper runs non-interactively, so the prompt fails.
Grant NOPASSWD sudo to that user (run as root, replacing <user> with the account you connect as):
printf '%s ALL=(ALL) NOPASSWD:ALL\n' '<user>' > /etc/sudoers.d/90-cloudpepperchmod 440 /etc/sudoers.d/90-cloudpeppervisudo -cf /etc/sudoers.d/90-cloudpepperUnable to connect to host
Section titled “Unable to connect to host”A firewall on your cloud provider or server is most likely blocking SSH. Confirm the SSH port you specified is open and accepts inbound connections from Cloudpepper’s platform IPs.
In rare cases the server’s public IP may sit on a blocklist that Cloudpepper can’t bypass. If retries keep failing, ask your cloud provider to issue a fresh IP and try again.