Table of Contents
Introduction #
While with Cloudpepper you can run Odoo on servers from any third-party provider such as AWS, Hetzner, Vultr, DigitalOcean, and even on-premises, you can also choose Cloudpepper as your server provider, directly from your dashboard.
When you select a Cloudpepper server, everything is managed in one place and invoiced by us. The servers use high performance AMD processors with NVMe storage, giving you a reliable foundation for your Odoo instances.
Requirements #
- Base, Pro or Agency plan with Cloudpepper
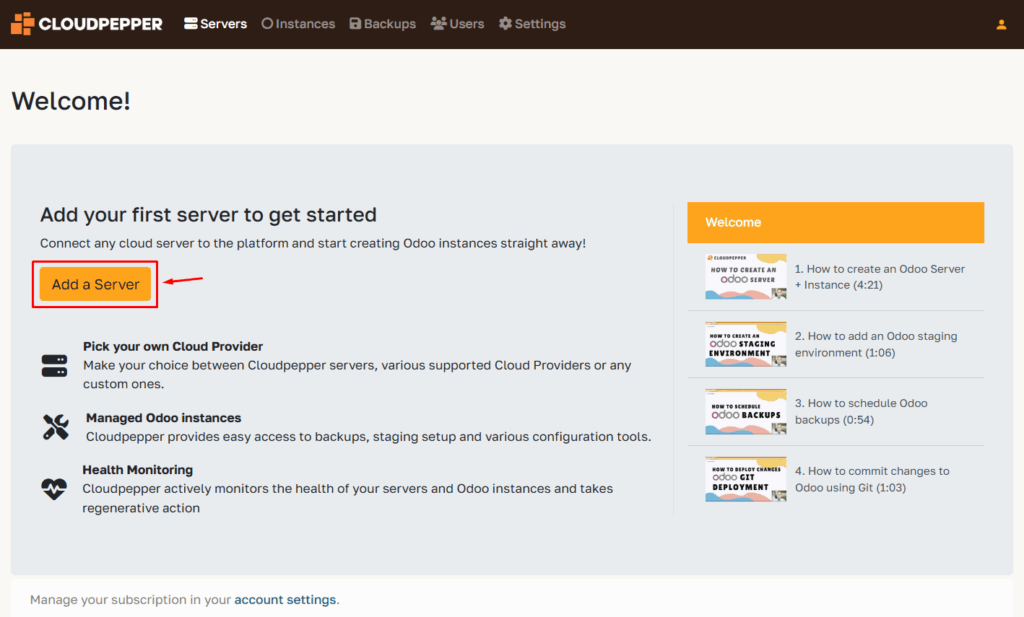
Step 1. Add your server on My Cloudpepper #
- In My Cloudpepper, go to Servers → Add a Server
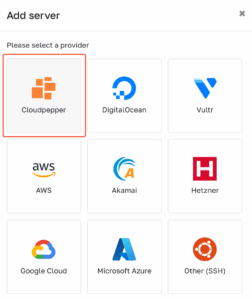
- Choose Cloudpepper as your cloud provider
- Select the desired region for your server. Choose the region closest to your system’s users to ensure low latency, which will give you faster loading speeds. Use this latency test to find the location closest to you. If the users of your system are your customers (i.e. you use Odoo as your e-commerce or website), choose the region nearest to your customers.

- Pick your server plan. For a single basic Odoo instance with fewer than 25 users, a 1 vCPU, 2 GB RAM server is enough to start. For more detailed guidance, see our Server Sizing Guide. You can upgrade to a larger server later from your dashboard as your business grows.
- Select the Odoo version you want to use on this server.
- Click OK to start deployment. Provisioning of the server (updates, security, performance tweaks, dependencies,…) usually takes 10–20 minutes, depending on the resources of the server.
Step 2. Add your first Odoo instance #
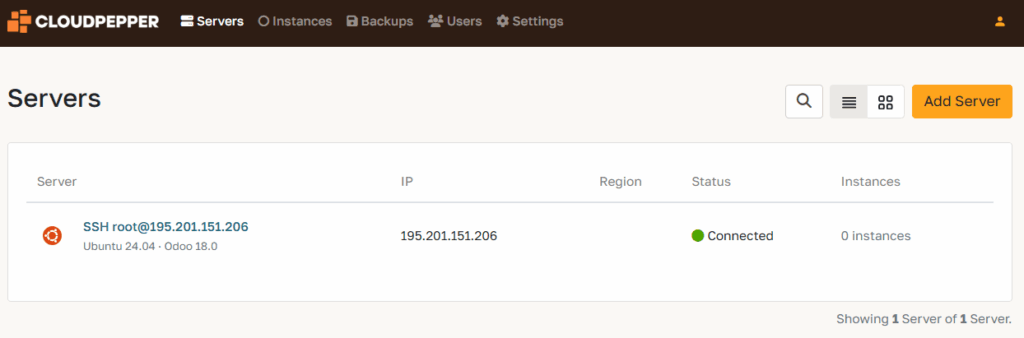
Your server is now connected and ready. Go to the Instances page in your Cloudpepper dashboard and click Add Instance to create your first Odoo deployment.
For detailed instructions, see Create a new Odoo instance.