Introduction #
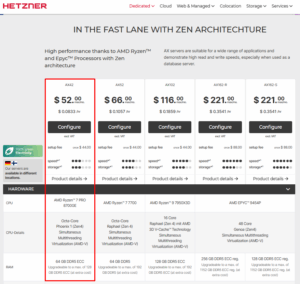
Hetzner is a popular choice among our clients, valued for its reliable dedicated servers at competitive prices. For example, you can have a high-performance AMD Ryzen octa-core server with 64GB RAM and a fast 512GB nVME SSD for as little as $53/month. Powerful enough to handle a demanding Odoo instance (such as retail or a busy e-commerce site) or to run a dozen smaller Odoo instances with ease. They also have affordable virtual servers with dedicated high performance CPU from $14/month.
Requirements #
- Base, Pro or Agency plan with Cloudpepper
Step 1. Find your server on Hetzner.com #
Which server should you choose? #
Before choosing a plan, check our Odoo Server Sizing Guide to understand how many CPU cores and how much RAM your Odoo installation requires.
Hetzner offers two main types of servers suitable for Odoo deployments:
- Virtual Servers: Affordable, quick to provision and easy to scale as your workload grows. Ideal for most Odoo instances. Plans start from around $4 per month.
- Dedicated Servers: Designed for heavy workloads or running multiple Odoo instances with guaranteed performance. Many customers choose Hetzner’s large, high-performance dedicated servers for their excellent price-to-performance ratio.
For this guide, we’ll use the AX42 Dedicated Server (8 cores, 64 GB RAM) as our example configuration. As per our Odoo server sizing guide, this comfortably supports up to 16 Odoo workers and leaves plenty of room for future growth.
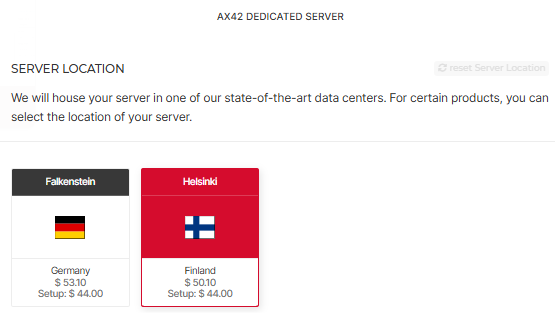
Step 2. Select your server’s location and OS #
On the next page, you’ll be asked to choose your server location and operating system.
Server location #
Select the location closest to the people who will be using your Odoo system (eg. customers or backend users). The closer you are to the server, the lower the latency and the faster pages will load.
Supported operating systems #
The operating system depends on the Odoo version you want to deploy. Use the OS compatibility table to select the right version.

The order form shows only a limited set of OS images. If the version you need isn’t available, choose the Rescue System instead. You’ll have a wider selection of operating systems to select from in your Hetzner dashboard under the Linux tab of your server.
For old end-of-life operating systems (eg. Debian 10 for Odoo 11), you can connect to your server using an SSH client like Termius and use Hetzner’s installimage tool to install your preferred OS. Keep in mind that the default APT entries pointing to Hetzner mirrors will no longer work. After installation, update /etc/apt/sources.list to use the distribution’s archive mirror (Debian: archive.debian.org, Ubuntu: old-releases.ubuntu.com), then run apt update && apt upgrade.
Click Order now to order your server. It’ll only take a few minutes for the server to come online. You can simply leave the default server configuration as is, or decide to increase RAM or add additional disk drives.
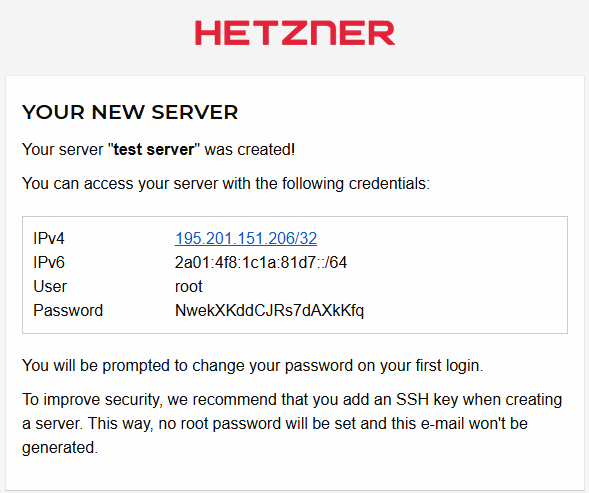
Step 3. Set a new password for your server #
After a few minutes, you’ll receive an email from Hetzner with the root login details of your server (including a temporary password).
Before connecting the server to Cloudpepper, you must log in once and set a new password.
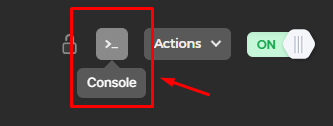
Hetzner Virtual Server (Cloud) #
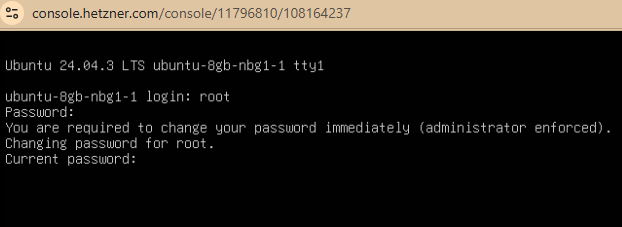
- Open your Hetzner Console dashboard and click the Console button.
- Log in with:
- Username: root
- Password: the temporary password from your email
- On first login you will be prompted to set a new password. Go ahead and set one and make sure you save it securely because you will need it to connect the server to Cloudpepper later.
Hetzner Dedicated Server #
- Dedicated servers don’t have a web console.
- Use an SSH client (e.g. Termius, PuTTY, or your terminal) to connect:
- Hostname: IPv4 address from your email
- Username: root
- Password: the temporary password from your email
- On first login you will be prompted to set a new password. Go ahead and set one and make sure you save it securely because you will need it to connect the server to Cloudpepper later.
Step 4. Connect your server to Cloudpepper #
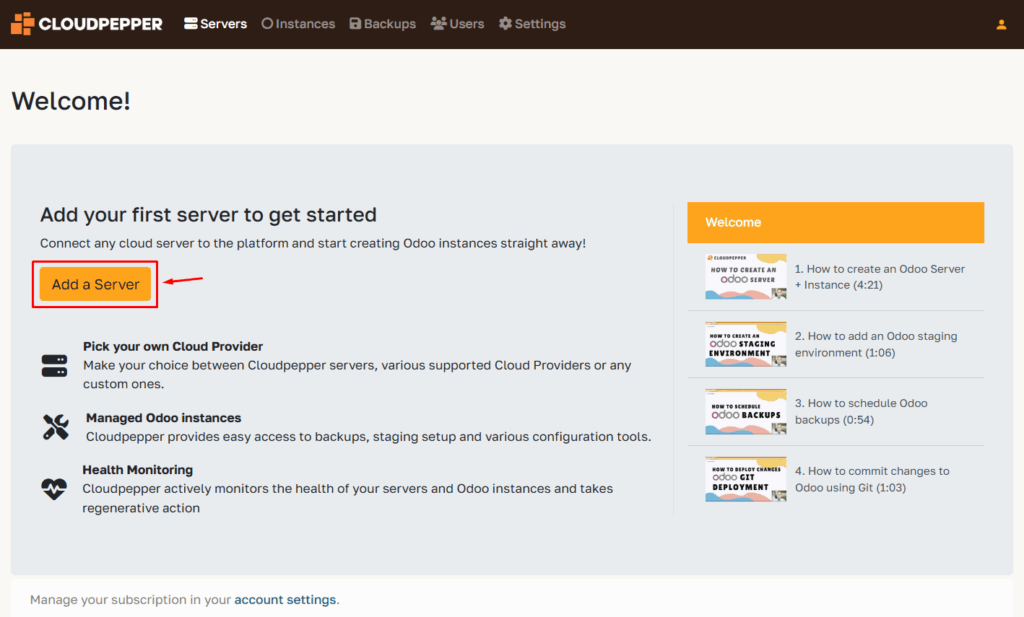
In your Cloudpepper dashboard, click Add a Server.
Select Hetzner as your cloud provider.

Enter the details of your server:
- Hostname: use the IPv4 address provided by Hetzner
- Port / Username: leave as it is
- Password: the new password you set in Step 3
- Odoo version: select the base Odoo version for this server
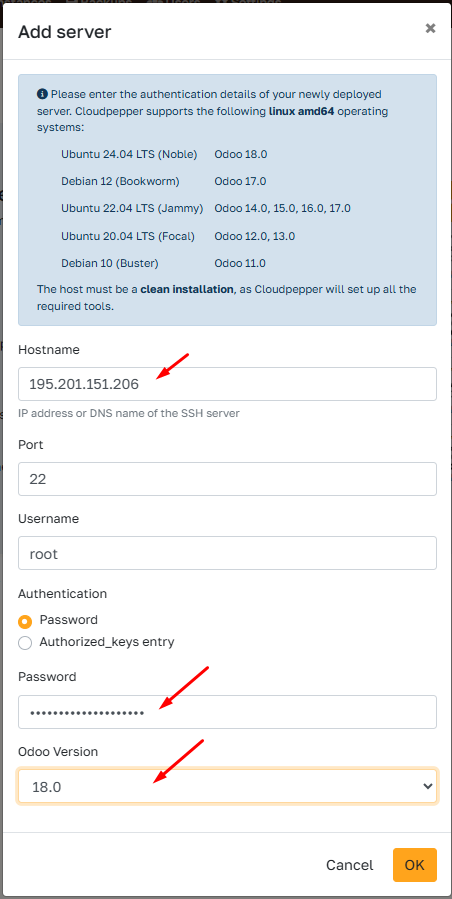
Click OK to start provisioning.
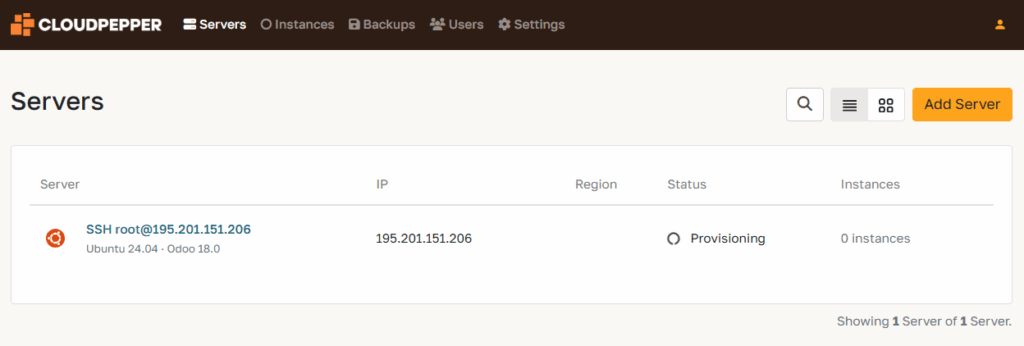
Cloudpepper will now set up your server by installing updates, required packages, and security hardening. This process usually takes 10–20 minutes, depending on your server’s performance.
Feel free to grab a coffee while Cloudpepper does the heavy lifting.
Step 5. Add your first Odoo instance #
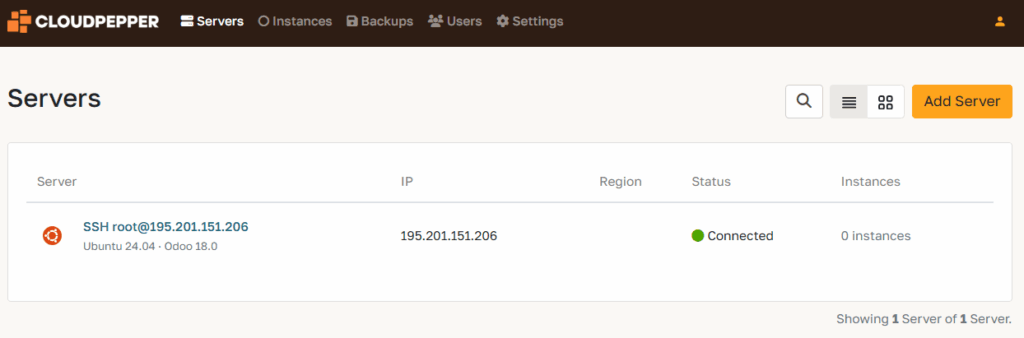
Your server is now connected and ready. Go to the Instances page in your Cloudpepper dashboard and click Add Instance to create your first Odoo deployment.
For detailed instructions, see Create a new Odoo instance.