Introduction #
Want to run Odoo entirely on your own infrastructure? This guide shows how to deploy a self-hosted Odoo instance on-premises, bare metal, or any cloud VM. With Cloudpepper, you get the same simplicity as Odoo.sh, but with full control, flexibility, and lower cost.
Why self-host Odoo? #
- Full control over data, configuration and upgrades
- Compliance for strict data or privacy rules
- Performance tuning freedom (PostgreSQL, caching, workers)
- Cost efficiency, especially at scale
Requirements #
- Base, Pro or Agency plan with Cloudpepper
- Any cloud provider of your choice or your own dedicated/on-premises server to self-host Odoo
Step 1. Prepare or choose your server #
Before deploying Odoo with Cloudpepper, make sure you have a server ready. You can use any cloud provider worldwide or a local/on‑prem server. If you already have a server, you only need root access (using a password or SSH key) and a supported Linux distribution installed.
Server specifications #
When choosing a server, use our Server Sizing Guide to choose the right server specifications for your expected number of users.
OS Requirement #
Your operating system must be a clean installation of Ubuntu or Debian, with nothing else installed on it. See the OS compatibility table to select the correct operating system for your server.
Step 2. Connect your server to Cloudpepper #
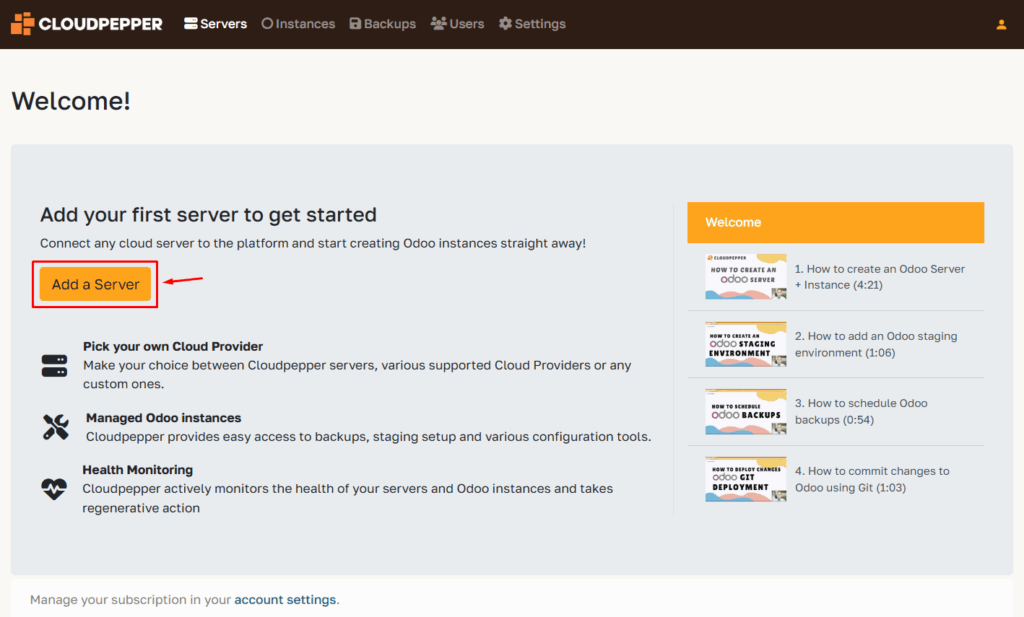
In your Cloudpepper dashboard, click Add a Server.
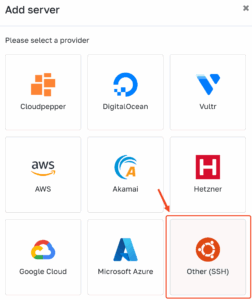
Select the option Other (SSH) to enter the details of your server.
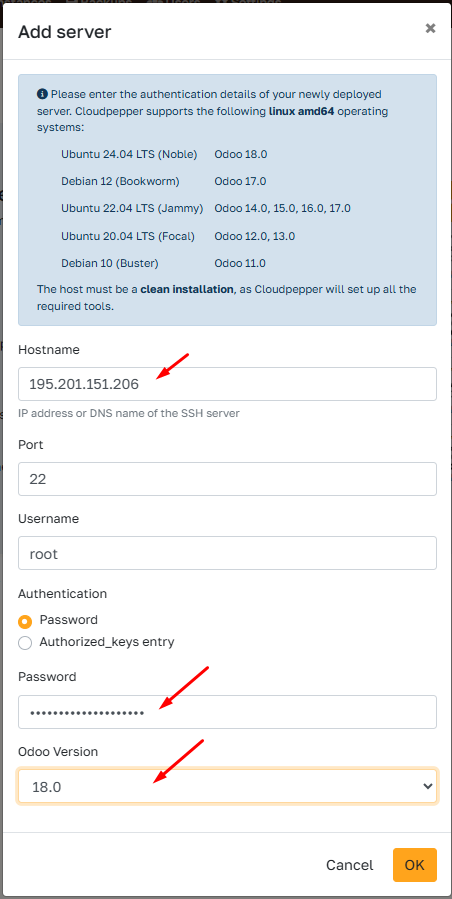
Enter the details of your server:
- Odoo version: select the base Odoo version for this server
- Hostname: the public IPv4 address of your server
- Port: the SSH port of your server (usually 22)
- Username: user with sudo rights (usually
rootor a sudo user without a password prompt) - Password: the password of the user
Some VPS (AWS EC2, many cloud VMs) disable password logins. If your server is key-only, or you prefer not to share a password, choose Authentication → Authorized_keys entry. Cloudpepper will show you a public SSH key to connect with your server.
Add the key to ~/.ssh/authorized_keys after logging in as root (or a passwordless sudo user):umask 077
mkdir -p ~/.ssh
printf '%s\n' 'ssh-rsa AAA...' >> ~/.ssh/authorized_keys
chmod 700 ~/.ssh
chmod 600 ~/.ssh/authorized_keys
Click OK to start provisioning.
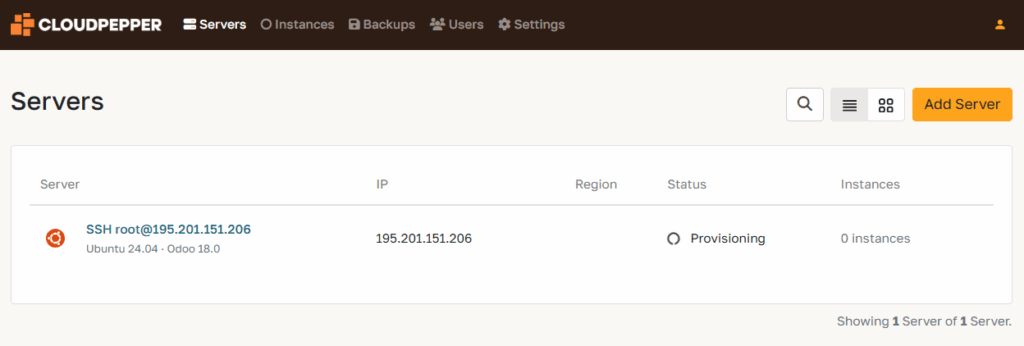
Cloudpepper will now set up your server by installing updates, required packages, and security hardening. This process usually takes 10–20 minutes, depending on your server’s performance. During this step, Cloudpepper also installs its SSH key to enable secure communication and future management.
Feel free to grab a coffee while Cloudpepper does the heavy lifting.
Step 3. Add your first Odoo instance #
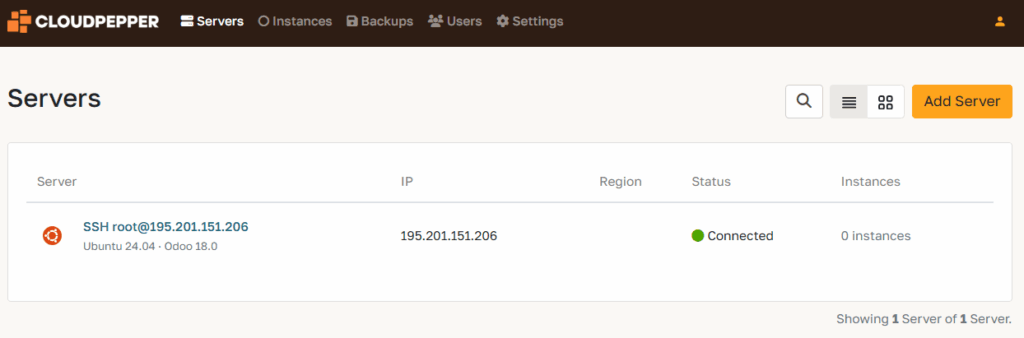
Your server is now connected and ready. Go to the Instances page in your Cloudpepper dashboard and click Add Instance to create your first Odoo deployment.
For detailed instructions, see Create a new Odoo instance.
Troubleshooting #
Error: sudo: a terminal is required … #
While provisioning your server, you may see this error:
sudo: a terminal is required to read the password; either use the -S option to read from standard input or configure an askpass helper sudo: a password is required
This happens when you connect as a non-root user whose sudo still asks for a password. Cloudpepper runs non-interactively, so this fails.
The solution is to grant NOPASSWD sudo to this user (run as root or user with sudo rights and replace <user> with the account you connect as):
printf '%s ALL=(ALL) NOPASSWD:ALL\n' '<user>' > /etc/sudoers.d/90-cloudpepper
chmod 440 /etc/sudoers.d/90-cloudpepper
visudo -cf /etc/sudoers.d/90-cloudpepperUnable to connect to host #
A firewall on your cloud provider or server may be blocking SSH access. Make sure the SSH port you specified is open and allows inbound connections from Cloudpepper’s platform IPs. See our Lock down Odoo server access guide for details.
In rare cases, Cloudpepper may still be unable to reach your server if its IP is on a blocklist. If this happens, contact your cloud provider and request a new public IP address before retrying the connection.