Introduction #
OVHcloud (OVH) is a European cloud provider known for dependable performance, transparent pricing, and strong data protection. It operates data centers across Europe and the United States, making it easy to host Odoo close to your users while keeping control over data location. VPS plans start around $4 per month, ideal for staging or smaller projects, while dedicated servers with up to 576 GB RAM and NVMe storage start around $60 to $90 per month, offering solid value for production workloads. Every plan includes built-in DDoS protection at the network level, active by default with no configuration required.
Requirements #
- Base, Pro or Agency plan with Cloudpepper
Step 1. Find your server on OVHcloud.com #
Which server should you choose? #
Before choosing a plan, you can check our Odoo Server Sizing Guide to find out how many CPU cores and how much RAM your Odoo installation requires.
OVHcloud offers two main types of servers suitable for Odoo deployments:
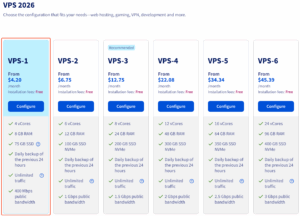
- Virtual Servers: Affordable and fast to deploy, VPS servers are ideal for most Odoo instances, testing, or staging environments. Plans start from around $4 per month and can be scaled up as your workload grows. Every VPS comes equipped with always-on DDoS protection.
- Dedicated Servers: Best for production workloads or multiple Odoo instances that need guaranteed performance. Strong CPU and storage options, typically starting around $60 to $90 per month, and also comes with built in DDoS protection active by default.
For this guide, we’ll use VPS-1 (4 cores, 8GB RAM) at $4.20/month, which as per our Odoo server sizing guide will allow us to run 8 Odoo workers.
Step 2. Select your server’s location and OS #
On the next page, you’ll be asked to choose your server location and operating system.
Server location #
Select the location closest to the people who will be using your Odoo system (eg. customers or backend users). The closer you are to the server, the lower the latency and the faster pages will load.

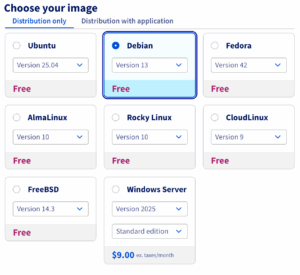
Supported operating systems #
The operating system depends on the Odoo version you want to deploy. Use the OS compatibility table to select the right version.
Once deployed, you will receive an email with the IP address, username and the temporary password of your server.
Step 3. Change the temporary server password #
Use an SSH client (e.g. Termius, PuTTY, or your terminal) to connect to your server:
- Hostname: IPv4 address from your email
- Username: the username from your email
- Password: the temporary password from your email
On first login you will be prompted to set a new password. Go ahead and set one and make sure you save it securely because you will need it to connect the server to Cloudpepper later.
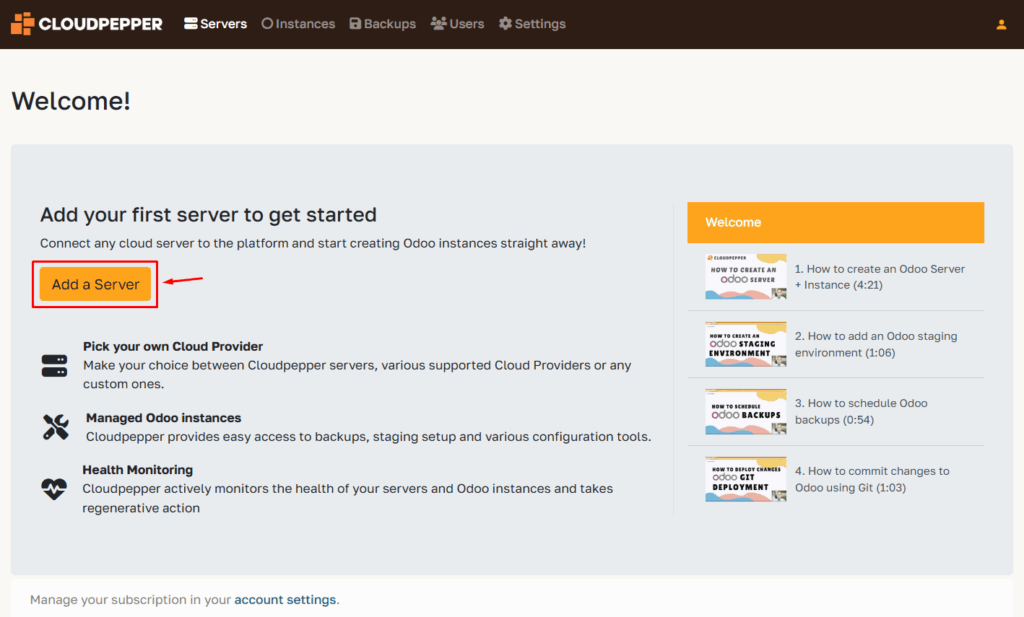
Step 4. Connect your server to Cloudpepper #
In your Cloudpepper dashboard, click Add a Server.
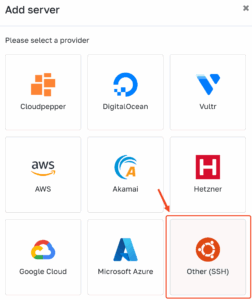
Select Other (SSH) as your cloud provider.
Enter the details of your server:
- Hostname: use the IPv4 address provided by OVHcloud
- Port: leave as it is
- Username: the username in the email (ie. debian or ubuntu)
- Password: the new password you set
- Odoo version: select the base Odoo version for this server
Click OK to start provisioning.
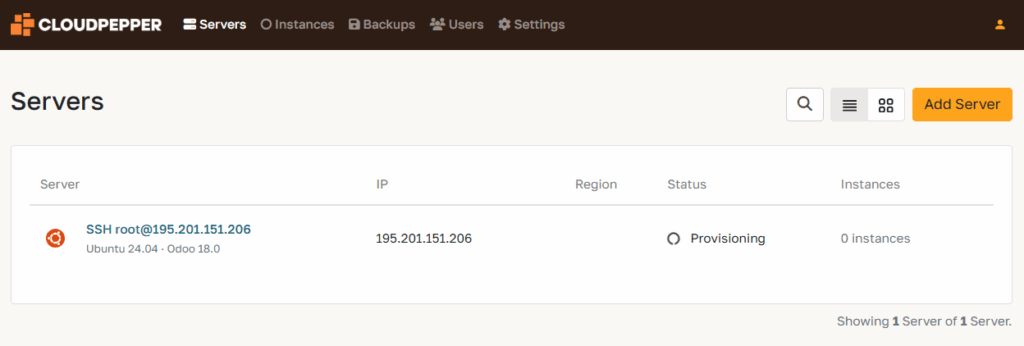
Cloudpepper will now set up your server by installing updates, required packages, and security hardening. This process usually takes 10–20 minutes, depending on your server’s performance.
Feel free to grab a coffee while Cloudpepper does the heavy lifting.
Step 5. Add your first Odoo instance #
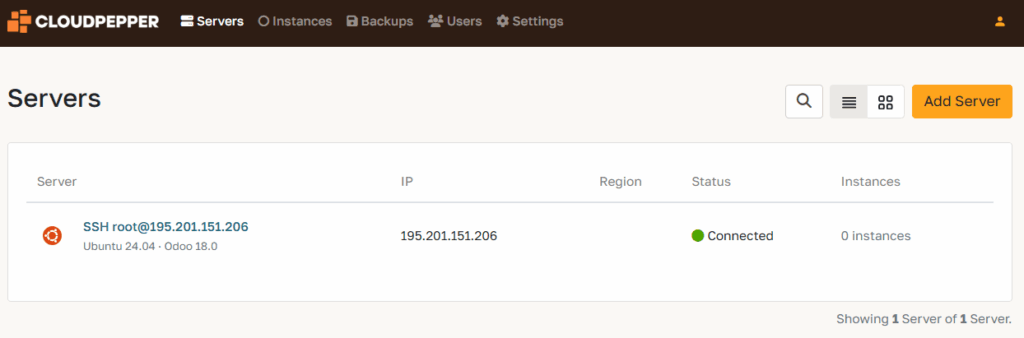
Your server is now connected and ready. Go to the Instances page in your Cloudpepper dashboard and click Add Instance to create your first Odoo deployment.
For detailed instructions, see Create a new Odoo instance.